 Taylor Simmons
Currently, Google Analytics offers GA4, Universal Analytics, and GA360. However, Google has announced that as of July 1st, 2023, Universal Analytics will no longer be supported, and GA360 will no longer be supported after July 1st, 2024.
That’s why Fyresite has compiled this list of everything that you need to know about GA4 and to make sure your Shopify account is using the correct Google Analytics.
Why Google Analytics 4?
Google Analytics is the ideal analytic tracking tool to answer questions about your Shopify store’s performance that can’t be answered with Shopify Analytics. Unlike Shopify Analytics, GA4 is free and not dependent on what level of Shopify you subscribe to.
How to Migrate from UA to GA4
Before you can set up GA4 on Shopify, you have to make sure that is the version that you are currently using. If you’re using GA4, great! You can skip to the next section. If not, you first need to migrate to GA4.
Step One – Consider Account Structure
If you have multiple sites/apps attached to your Google Analytics account, you need to consider your account structure. If you only have one site/app, skip to step 2.
While UA has views, GA4 does not have them and therefore you have to use a different method to create separate collections of data. This source walks you through the different ways to do this.
Step Two – Create a GA4 Property and Data Stream
Using the GA4 setup assistant, you will create a new GA4 property that collects data in parallel with your UA property (remembering that UA will only collect data until July 1, 2023). You must be in the editor role in order to use GA4 Setup Assistant and create a new property. While the new GA4 property will collect data, it will not have historical data from UA.
Step Three – Collect Website and App Data
This step will not be required if the GA4 Setup Assistant was able to reuse your tags. If the Setup Assistant was not able to reuse your tags, you will need to click “See Your GA4 Property” to open the Setup Assistant in your new property. This assistant will guide you through the features and settings needed to finish your new property.
Step Four – Turn On Google Signals
While this step is optional, Google signals needs to be on in order to collect additional data about users who have ads personalization on. To turn on Google signals, all you need to do is enter the Setup assistant, click the Actions menu. From there, click Manage Google signals, go to Data Collection and turn on Google Signals data collection. To finish, click the Actions menu again to mark the row as complete. This will allow all the users of the property to see the same status.
Step Five – Set Up Conversions
To set up conversions, you will need to be in the editor role. You can use Google’s tool, which will automatically migrate your UA Goals to GA4 conversion events, or migrate the information manually.
Step Six – Add Users
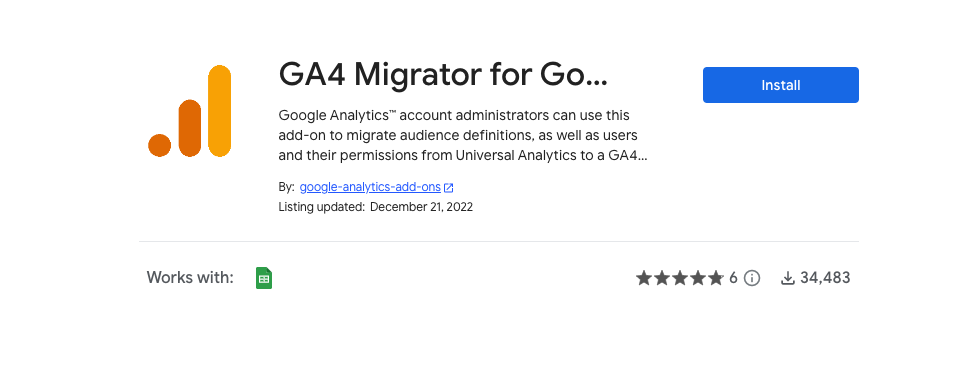
To add users and their permissions to your Google Analytics 4 property, you will need to have the Administrator role on your account. You can either use the Google Sheets GA4 Migrator for Google Analytics add-on, or you can migrate users manually.
How To Set Up Google Analytics 4 on Shopify
Now that you’ve successfully made sure that you are using GA4 and not UA, it’s time to set up GA4 on Shopify, so you can take advantage of all the analytics available to you. Please note that this is the current way to set up GA4, but Shopify will be announcing any additional changes in March 2023.
Step One – Sign Into Your Shopify Account
Even though we’re adding Google Analytics, you will have to do it through Shopify. That’s why you’re going to need to sign into Shopify before doing anything else. Luckily, this integration is native to Shopify and will not cost you anything additional.
Step Two – Go into Themes
Once you enter Themes, click the Actions dropdown menu, and select edit code. This will get you ready for Step Three.
Step Three – Enter Layout and Select {/}theme.liquid
Now this might sound intimidating, but we’re here to walk you through it. Before continuing on to the next step, you need to make sure there are no current Google tracking tags in your liquid code. Look for ga.js, gtag.js, and analytics.js files. If any are there, GA has already been installed, and you should verify tag installation accuracy before making any changes.
Step Four – Add the Google Analytics Code
The big finale. First, find the file’s closing head tag. Paste the Google Analytics code just above this line. And here comes the most important bit. Click Save to finish.
Need help?
We understand that setting up Google Analytics to your Shopify account can be time consuming, especially if you need to migrate from Google Analytics’ Universal Analytics to GA4. Partnering with a Shopify expert allows you to save time while making sure that everything goes seamlessly.
To partner with Fyresite and see if we’re a good fit for you, contact us here.