 Jason Turnquist
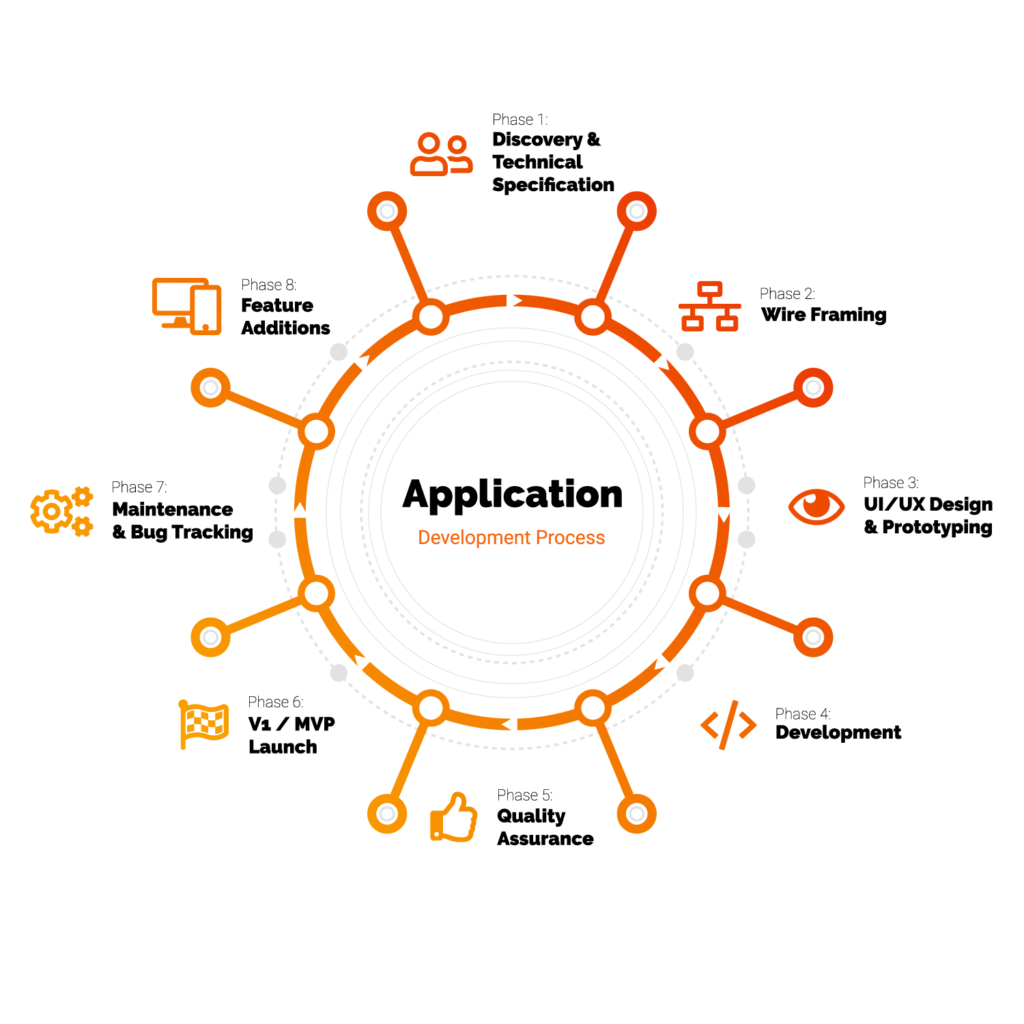
You have a killer idea for the next big app, but the steps required to make that dream a reality are a complete mystery. Lucky for you, we at Fyresite want to make this process collaborative and transparent. Here’s a look at our eight-step process for building a mobile or web application: starting with this video.
But if videos aren’t your cup of tea, keep reading! We’ll break down the process piece by piece.
The App Development Process
Fyresite’s development process occurs in eight phases: Discovery and Technical Specification, Wire Framing, UI/UX Design and Prototyping, Development. Quality Assurance, V1/MVP Launch, Maintenance and Bug Tracking, and Feature Additions.

Let’s go through each step one at a time.

Phase I: Discovery & Technical Specification
The first step to building a complex software system, such as a custom mobile or web application, always starts with a technical specification or spec sheet. A spec sheet is a project blueprint that includes feature lists, a screen count, process flow charts, lo-fi wireframes, feature list time estimates, a design budget, a development budget, development timelines, a payment structure, and a contingency budget. This software blueprint will keep the project in scope and on budget.
Learn more about our spec sheet and wireframing process.

Phase II: Wire Framing
Wireframing is the next step before designing. We use UXPin to create hi-fi wireframes, but other common wireframing tools include Sketch, Invision, and Framer. Wireframing helps our designers and developers agree that the designs are within spec and that additional features are not being added unintentionally.
Learn more about our spec sheet and wireframing process.
![]()
Phase III: UI/UX Design & Prototyping
UI/UX design is one of the most important steps in the development of a mobile or web application because it’s the part of the product that users are in direct contact with. Not only must it follow modern UI trends, but it must also be intuitive, effortless to use, and easy to translate to programming. Since complex designs can increase development time and overall scope creep, developers must review designs to point out areas that could cause increased development. The use of design patterns is key to keeping UI consistent and development time down. We use a combination of UXPin, Sketch, Invision, and Avocode to create our designs and pass assets to the software engineers. Our UI/UX team specializes in developing an intuitive human-centered experience that resonates with users. To find out what our design team can do for you, please drop us a line through our contact form.
Learn more about our design and prototyping process.

Phase IV: Development
After the client signs off in the designs, the development phase of the app begins. Development consists of 3 areas: Front End, Back End, and Infrastructure.
Front End Development
After designs are approved, they must be exported as individual assets and turned into native app components or front end components in React.js, which remains one of the most efficient code libraries for building an app or website interface.
Back End Development
Everything that connects front end design with infrastructure is backend development. It’s all the functions, Queries, API’s, and notifications.
Infrastructure Development
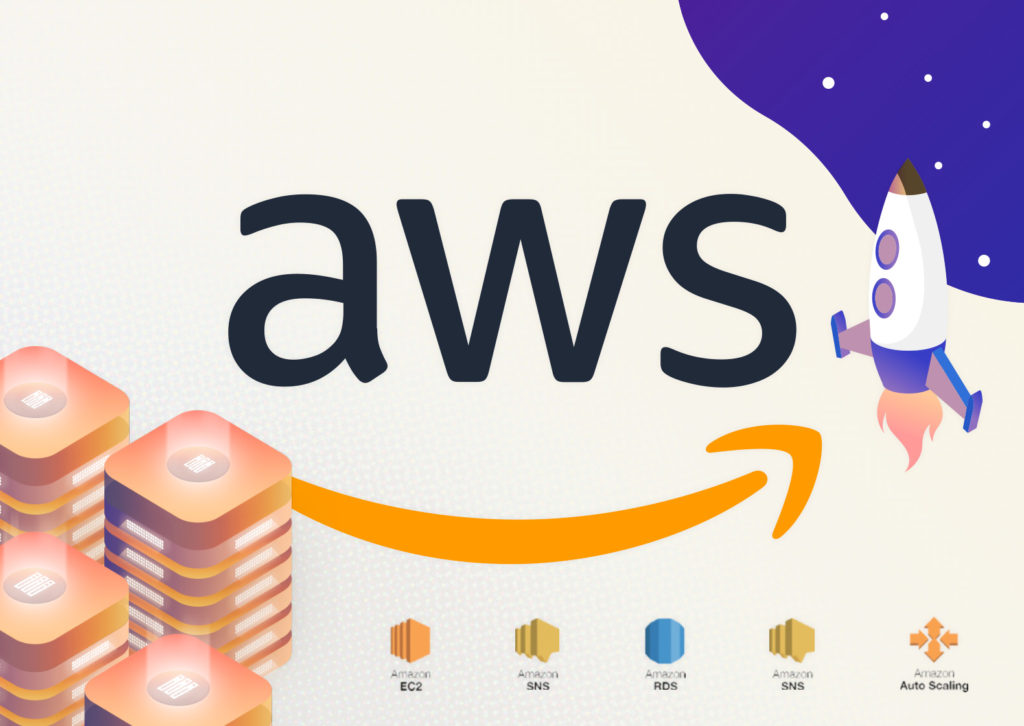
Fyresite builds on AWS, so the environment must be set up and the appropriate AWS services must be connected. This process includes setting up GIT, AWS EC2, S3, Cognito, DynamoDB, CodePipeline, Lambda Functions and any other 3rd party services that will be needed during the Back End development phase.
This phase takes the most time, so it’s imperative to track hours to assure that the project does not go over budget. Doing a weekly hours count helps spot issues before they get too far past their estimates.
Learn more about our development process.

Phase V: Quality Assurance & Internal Beta
When we finish implementing design and development, it’s time to start internal testing. Internal testing should start 3-4 weeks before the MVP launch date. During this time, all employees should test the app as users to look for errors, bugs, and crashes. This phase ensures enough time to account for patches, multiple device testing, edge use case determinants, and overall usability.
Learn more about our QA process.

Phase VI: V1/MVP Launch
Once we complete QA and Internal Beta, it’s time to launch to external users. We encourage clients to start with a soft launch. A soft launch is sending to friends, family, and colleagues for feedback before any advertising or PR is done. Often, small bugs may arise during this process, so it’s better to have this happen with a small group of users. After the soft launch has concluded and 99% of the bugs are worked out, it’s time to launch to the masses. Take a look at some of our most recent work!
Learn more about launch preparation.

Phase VII Maintenance & Bug Tracking
No matter how hard you QA, there will always be bugs after launch. To facilitate the smooth operation of the system, we repeat the QA process to accurately track, diagnose, and remove bugs before they cause any larger problems. Maintenance usually occurs after MVP and will incur additional costs.
Learn more about maintenance and feature additions.

Phase VIII: Feature Additions
When an application requires additional features after launch, we begin the process over again. That way, we can assure that new features function seamlessly and exemplify the same quality craftsmanship as the rest of the application. Just as we do when developing the original system, we start from the top with all new spec sheets and estimates so we can meet your needs on time and budget.
Learn more about maintenance and feature additions.
Where to Start
Building a new application is not easy, so finding the right development partner is imperative to accomplish your vision. To find out how we can get your project off the ground, please drop us a line through our contact form or call us at 888.221.6509.